
The most effective infection prevention programs incorporate a well-thought-out plan, the right products for the facility’s goals, continuous monitoring and most importantly, a consistent and effective process. Over the years, I’ve worked with all different types of facilities to create infection prevention programs from scratch or improve existing infection prevention programs with better chemistry and education. One thing I learned by visiting these facilities and seeing firsthand how they manage infection prevention? Mistakes in process are almost always the cause of their problems.
A proper infection prevention process will include simple, time-honored steps like reading all product labels and instructions (and following them); diluting products accurately; pre-cleaning surfaces before disinfecting; respecting dwell times; accounting for every object and surface; changing out mops and wipes frequently and always working from the cleanest to the dirtiest areas. Let’s examine a few of those tips a little more closely to better understand how process impacts infection prevention.
Always Pre-Clean Surfaces Before Disinfecting
Do you know the difference between cleaning and disinfecting? Make sure everyone on your team understands the distinction. Cleaning physically removes germs, dirt and impurities from surfaces generally by using a detergent and water and some mechanical tool like a cloth. Cleaning does not kill germs, rather it removes them. Disinfecting, on the other hand, kills the germs. Disinfecting doesn’t necessarily clean dirty surfaces either. Contrary to popular belief, infection prevention means you must both clean and disinfect, in that order.
Here’s why: Organic materials disrupt disinfectants. In other words, if there is soil on a surface and you spray your disinfectant, that soil may disable the disinfectant’s microbe-killing properties. Suffice it to say that your infection prevention program must have a very clear process in place that makes sure you are cleaning prior to disinfecting.
Respect Dwell Times
Dwell time (or contact time) is the amount of time a surface must remain wet with disinfectant or a sanitizer to allow the chemical to kill the microorganisms on that surface. A standard dwell time in the industry is 10 minutes, although chemical manufacturers are finding ways to bring that dwell time down to as little as three minutes or less.
No matter how long the dwell time listed on your disinfectant, it’s still likely your staff isn’t adhering to it. One of the most common mistakes I see busy cleaners make is not giving that disinfectant the right amount of time to do its job. Go out to lunch today and watch the workers at that restaurant come around and “sanitize” your table before you eat. Do they leave the chemical on the tabletop for 10 minutes before wiping? Three minutes? How about the 45 to 60 seconds the health code specifies? Chances are it’s immediately wiped off. They have to turn tables over, after all!
Dwell time is determined a little differently in the United States than it is in Canada. Historically, in Canada, dwell time has always been related to the organism with the longest contact time on the list for that product. In the U.S., where we can label by species, contact times can be listed out for all of the different viruses and microorganisms separately. Because we don’t ever know exactly what invisible viruses could be lurking on a surface, I prefer Canada’s method of labelling and always advise to use the longest contact time listed on the U.S. label.
Often times when I visit facilities, I get the question, “If I don’t leave the disinfectant down for 10 minutes is it useless?” The short answer is no, not exactly. You may do most of your killing in the first 30 seconds, but to get to that 6th log, or to kill the 99.9999% of microorganisms that product promises, you’re going to have to wait it out.
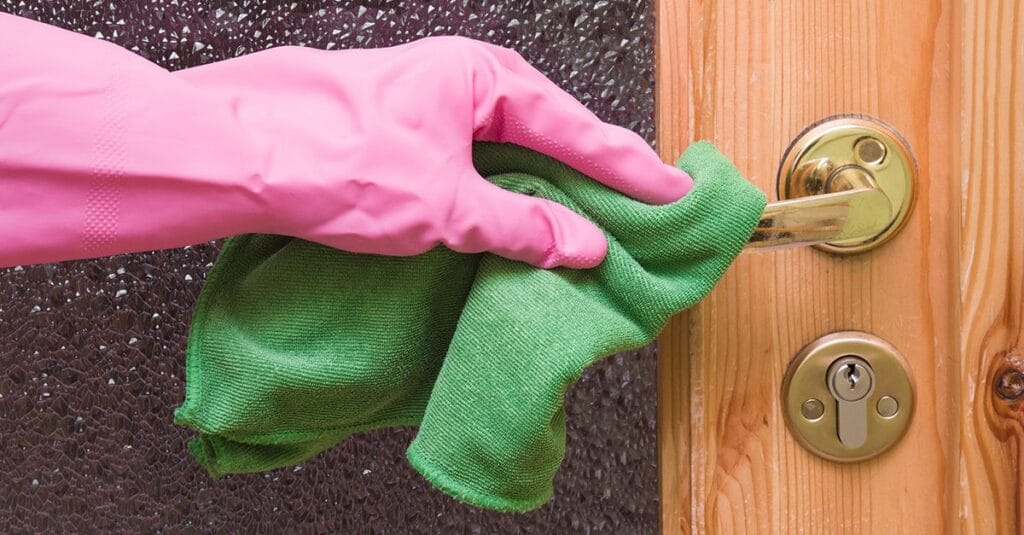
Use Microfiber When Possible
When it comes to the tools you use in your infection prevention program, there are some hidden traps that will cheat your program out of the desired results. Many studies have looked at the importance of microfiber in infection control and concluded that it can be a helpful complement to a well-planned infection prevention program.
For example, on many surfaces, 30% of microorganisms can be removed by wiping with a wet cloth; but if you use microfiber, this number can increase as high as 99%. However, you must use that microfiber in the correct way to prevent missteps. First, you want to make sure you are using the right wetting capacity of your microfiber tools. If you wet your microfiber mop or rag too much, it won’t work properly. This is demonstrated best in-person, but you can try it, using water, the next time you’re in your supply closet. Microfiber that’s ready to be used should give you a yucky, sandpaper-like feeling when you drag it across your skin. If it doesn’t feel a little rough, then it’s too wet. I always advise testing for that feeling before using microfiber, just to be sure.
Know Your Gray Zones
Gray zone items are the objects that everyone thinks somebody else is cleaning and disinfecting. I often see these objects become problems in hospital settings, and one of the biggest culprits is the ice machine. The environmental services staff thinks the nursing staff is cleaning the ice machine, and nursing staff think it’s being cleaned by food services—while all that ice is being put in patients’ mouths. Mobile medical carts also often fall into the gray zone and can be a huge problem in spreading infection around a facility.
Gray zone items should be addressed in your infection prevention program plan, where every single object in your facility, including mobile items, is accounted for. Document that plan, making sure to hold those who are assigned to each item accountable for following the appropriate process.
At the end of the day, your infection prevention program is about protecting both public health and making your facility safe and efficient. There are many important steps you will need to follow to build a program that keeps infection at bay and ensures the health of your building’s occupants. After all the work I see teams put into developing a solid plan, purchasing the right products and tools and monitoring their programs, I hate to see little mistakes in process reduce its value. These inside “secrets” really can make sure your infection prevention program is working to its highest potential, stopping infection in its tracks.